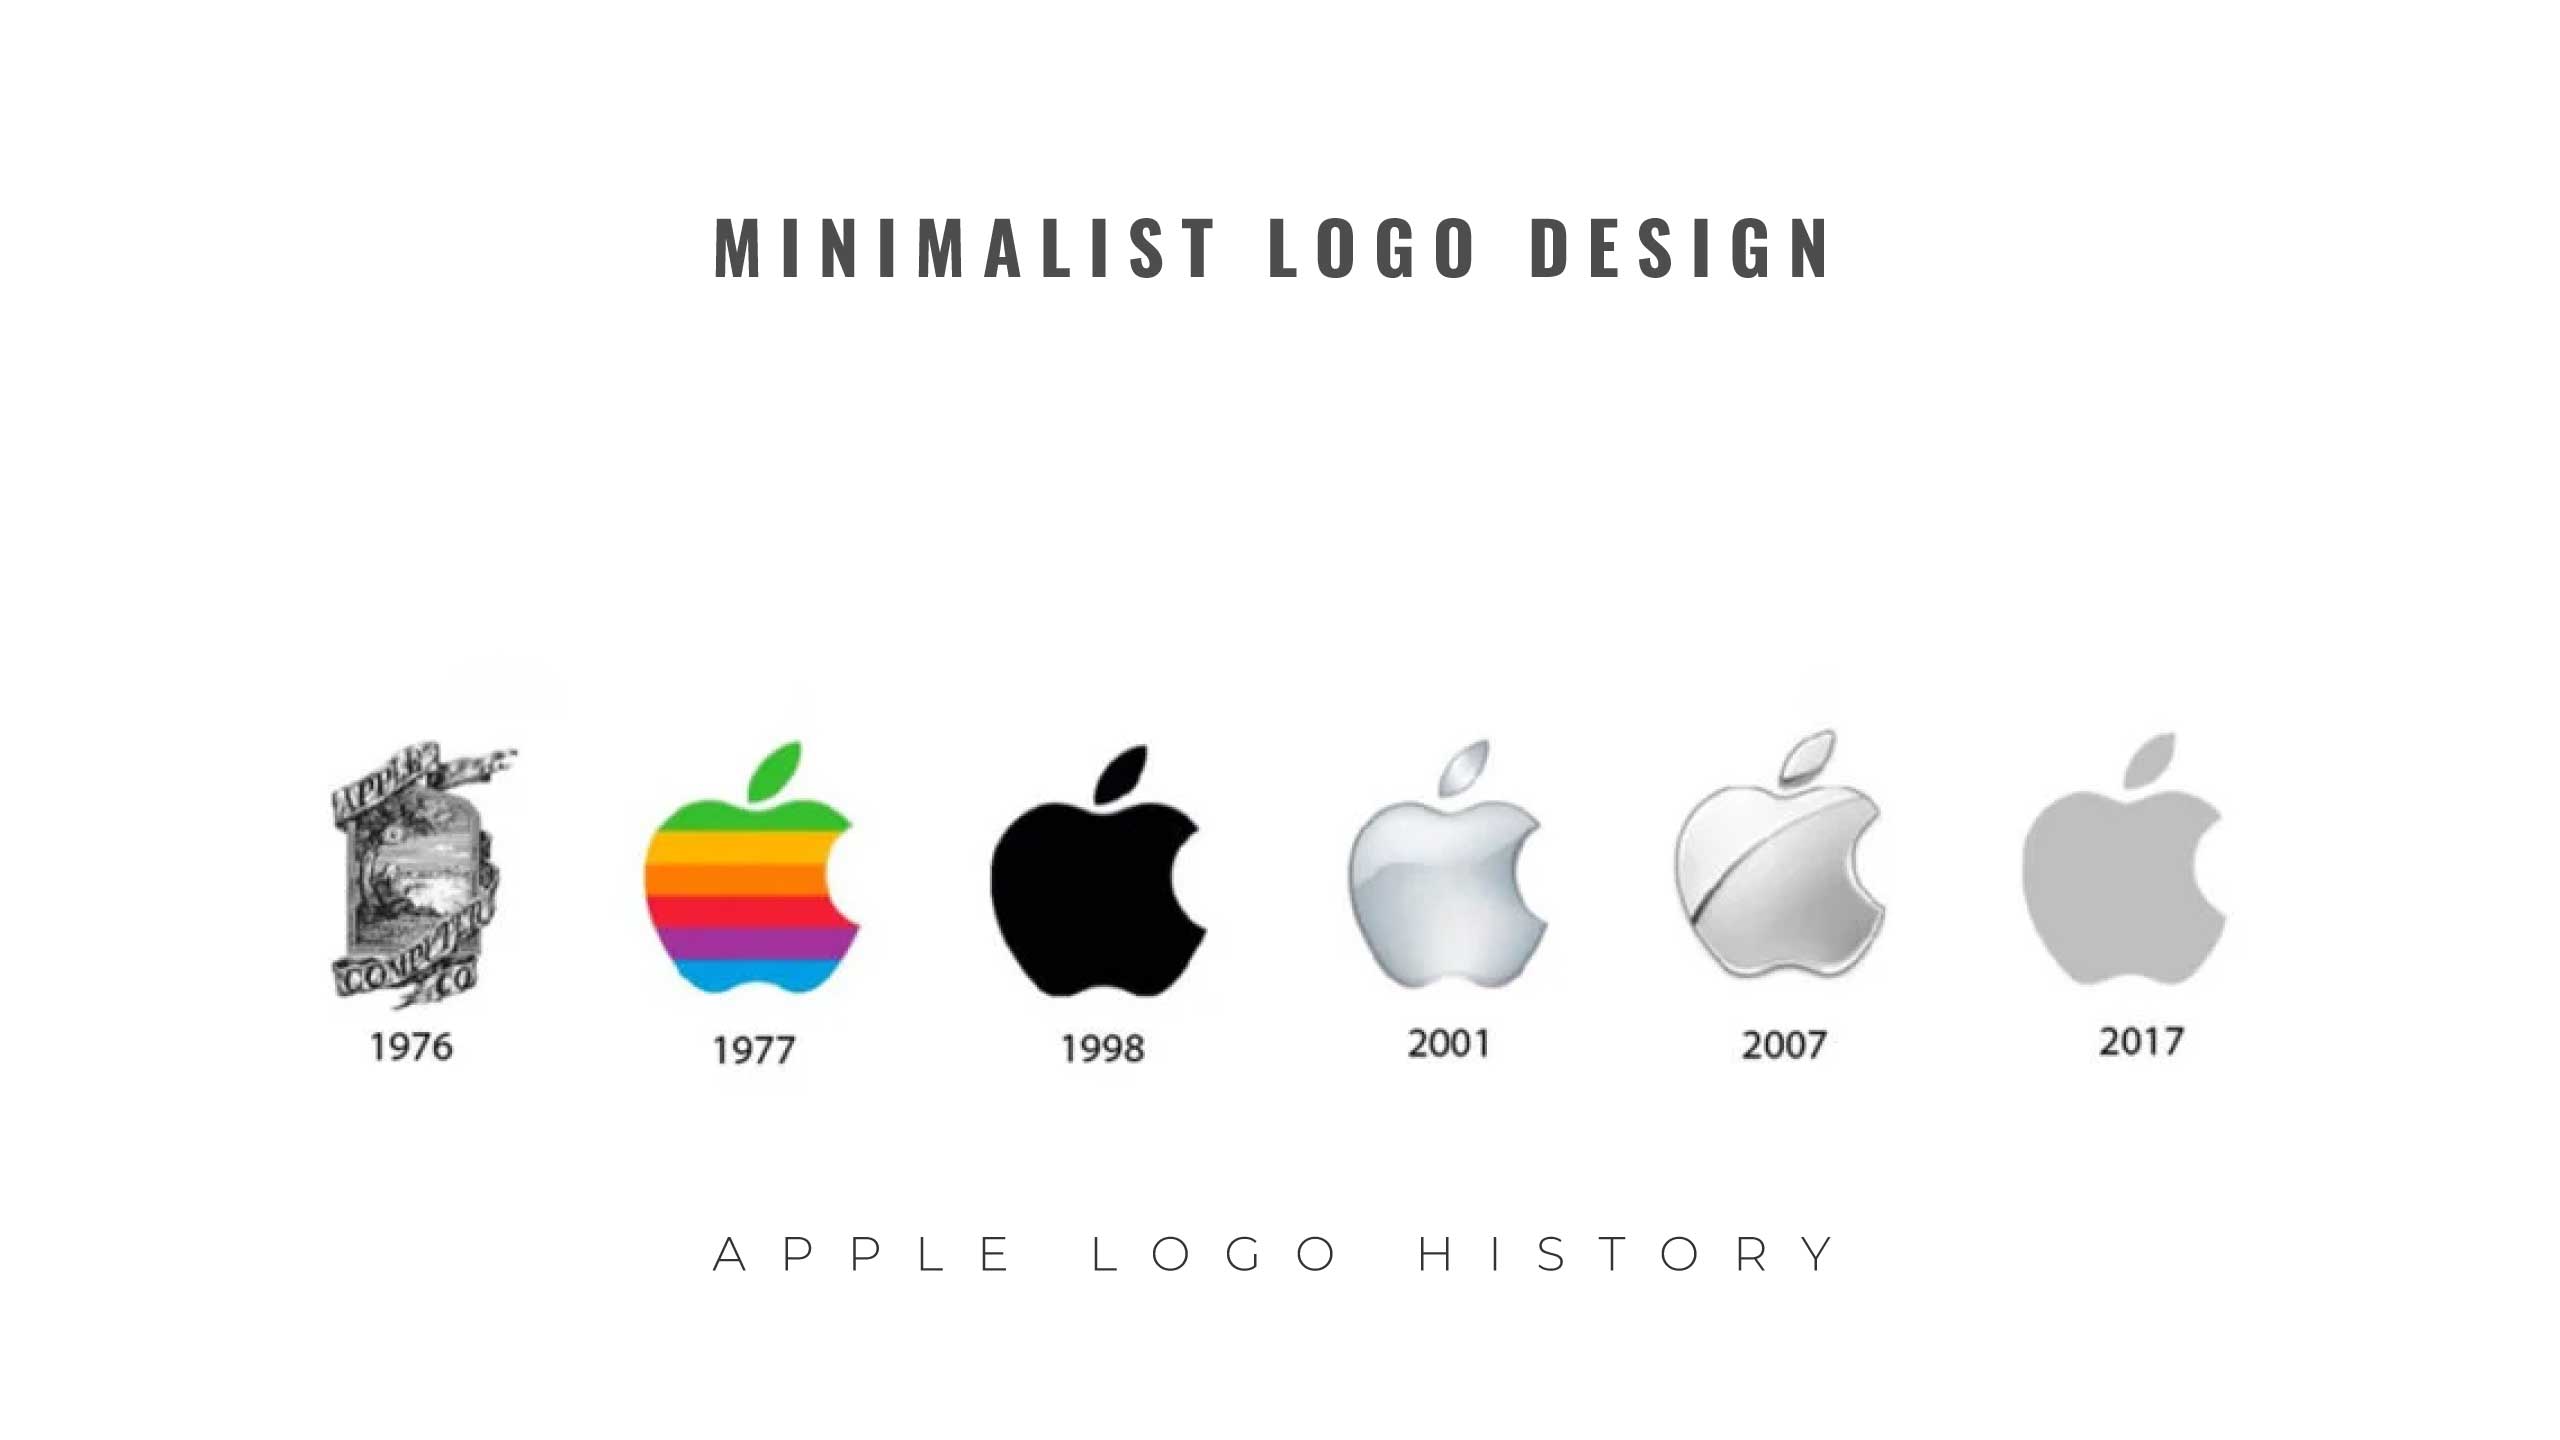
A minimalist logo design can give your brand a clean and contemporary aesthetic. This design approach has gained popularity in recent years for its ability to communicate a clear message through simplicity and lack of clutter. Many well-known companies, such as Apple, Nike, and Microsoft, have adopted minimalist logo designs. In this article, we will provide a step-by-step guide to creating a minimalist logo design using Adobe Illustrator.
Step 1: Research and Planning
Before you start designing your minimalist logo, it’s essential to research your competitors and understand your target audience. This will give you an idea of the visual language and style that works best for your industry. Once you have an understanding of your brand’s core values and target audience, it’s time to brainstorm some ideas for your logo.
Step 2: Choosing Fonts and Colors
Minimalist logos typically use simple and clean fonts with a lot of negative space. Sans-serif fonts like Helvetica or Arial are popular choices for minimalist design. It’s best to limit your color palette to one or two colors that complement each other well. Using black and white or shades of gray is a classic minimalist approach that always works.
Step 3: Sketching and Drafting
Once you have a rough idea of what you want your logo to look like, it’s time to sketch out some drafts. Sketching allows you to experiment with different shapes and layouts before committing to a design. Don’t worry about creating a perfect sketch; the purpose is to generate ideas and refine them gradually.
Step 4: Creating the Logo in Adobe Illustrator
After you have a few drafts, it’s time to create your minimalist logo in Adobe Illustrator. Start by opening a new document in Illustrator and creating a new artboard. Choose the shape that you want to use for your logo and create it using the Shape tool.
Next, add your text using the Type tool. Select a sans-serif font that matches the style of your logo. Experiment with different font sizes, weights, and spacing until you find the perfect balance. Remember to use plenty of negative space to create a clean and uncluttered look.
Step 5: Refining the Design
Once you have a rough logo design, it’s time to refine it. This involves adjusting the font sizes, spacing, and alignment until the logo looks balanced and visually pleasing. Make sure to test your logo on different backgrounds to ensure it works in different contexts.
Step 6: Exporting Your Logo
When you’re satisfied with your minimalist logo design, it’s time to export it. Choose a high-resolution file format such as PNG or SVG to ensure that your logo looks crisp and clear on all devices.
Creating a minimalist logo design in Adobe Illustrator is a straightforward process that requires careful planning and attention to detail. Remember to keep your design simple, use negative space, and limit your color palette to achieve a clean and modern look. With practice and perseverance, you can create a minimalist logo that perfectly represents your brand and stands out in a crowded market.


